Bome MIDI Translator is a powerful software with countless use cases. Today, we will learn how to control any fixed on-screen parameter in the program of your choice. This can be useful for audio VSTs, lighting software, or pretty much anything that doesn’t support MIDI control.
Let’s split the action into three parts, the same way you would move a parameter on your screen: First, place your mouse pointer on the cursor, then hold down the left button, move the mouse, and finally release the mouse button.
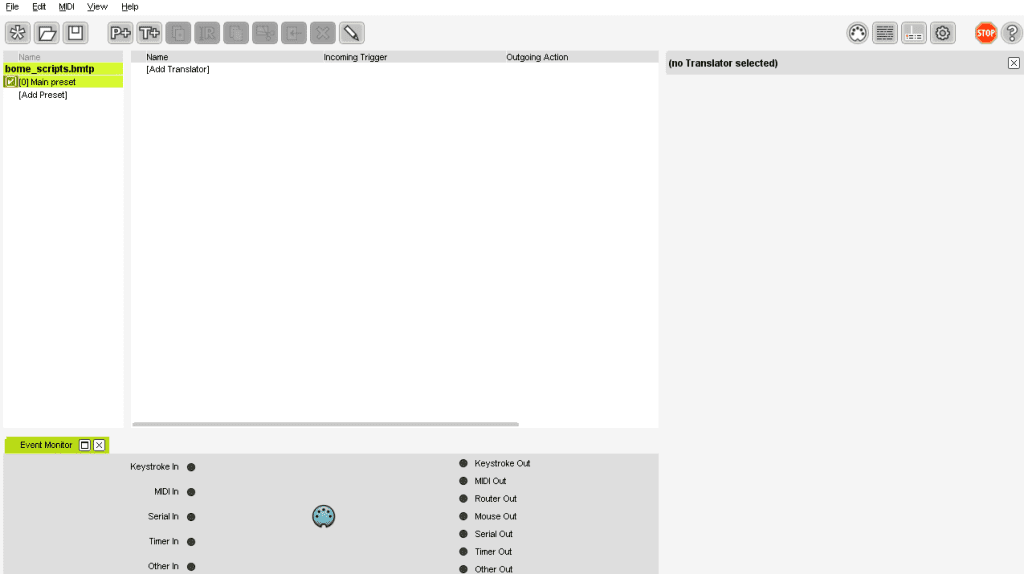
To begin, let’s create a new project in Bome MTP. Then, we’ll take a look at the default MIDI ports by clicking on the MIDI 5-pin button in the top-right corner of the screen. You should see a list of all the compatible MIDI devices connected. If you don’t see your device listed, make sure that you have all the necessary proprietary drivers installed. Also, ensure that the box next to your MIDI controller is checked in the MIDI INPUT area.
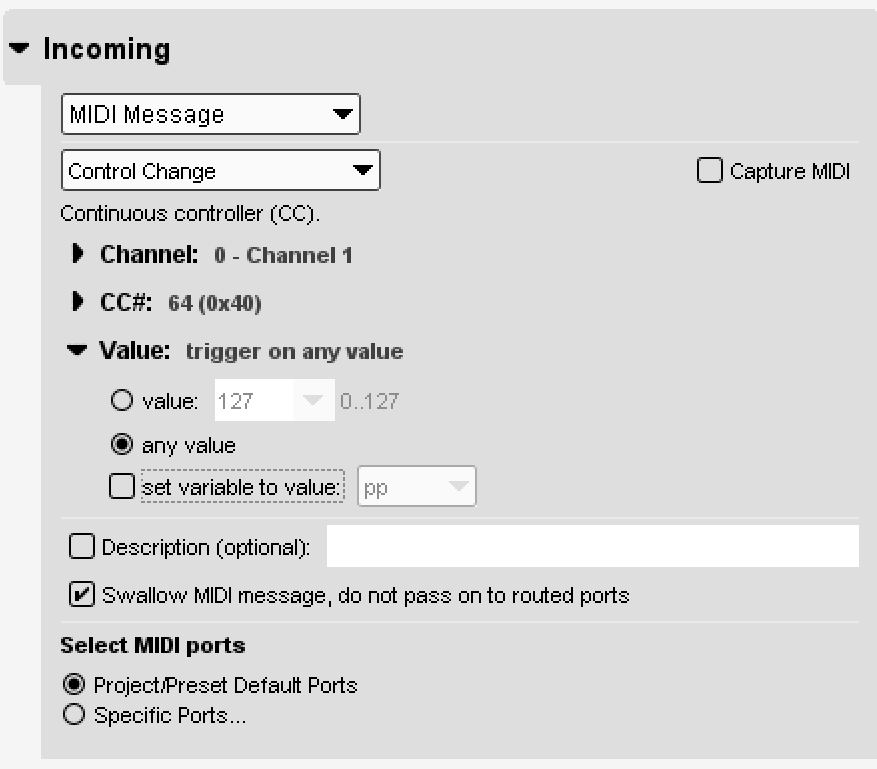
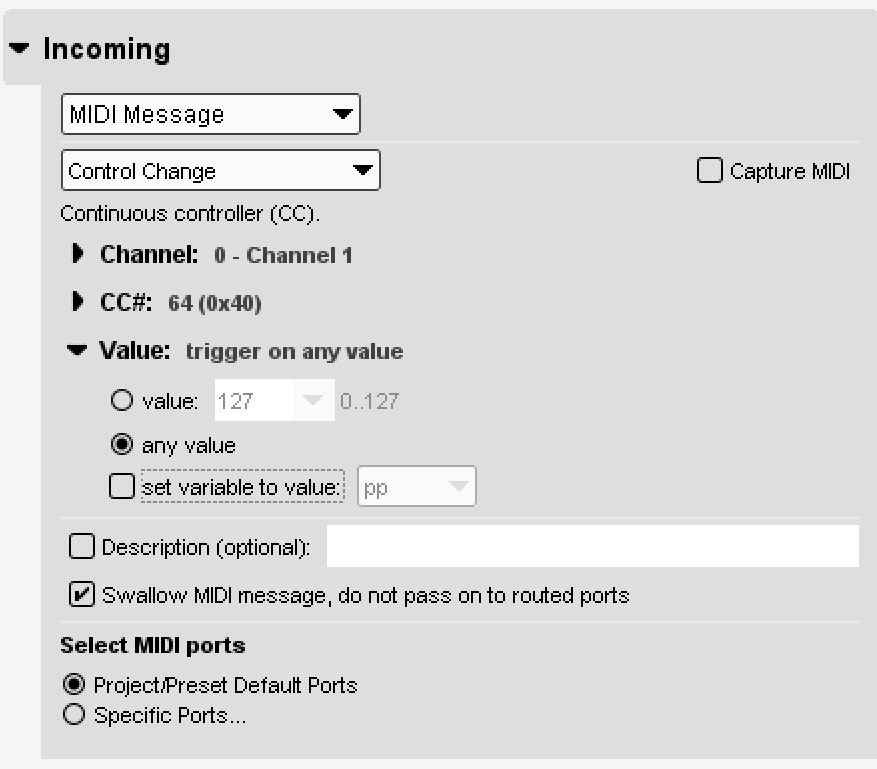
Next, we’ll create a new translator by clicking on the top line of the main window. In the “Incoming” section, use “Capture MIDI” to detect the MIDI CC used by your controller, then move your desired fader/knob. The CC# should be automatically filled in, and you can tick “any value” in the field below, so it will respond to any value between 1 and 127 received from your controller.
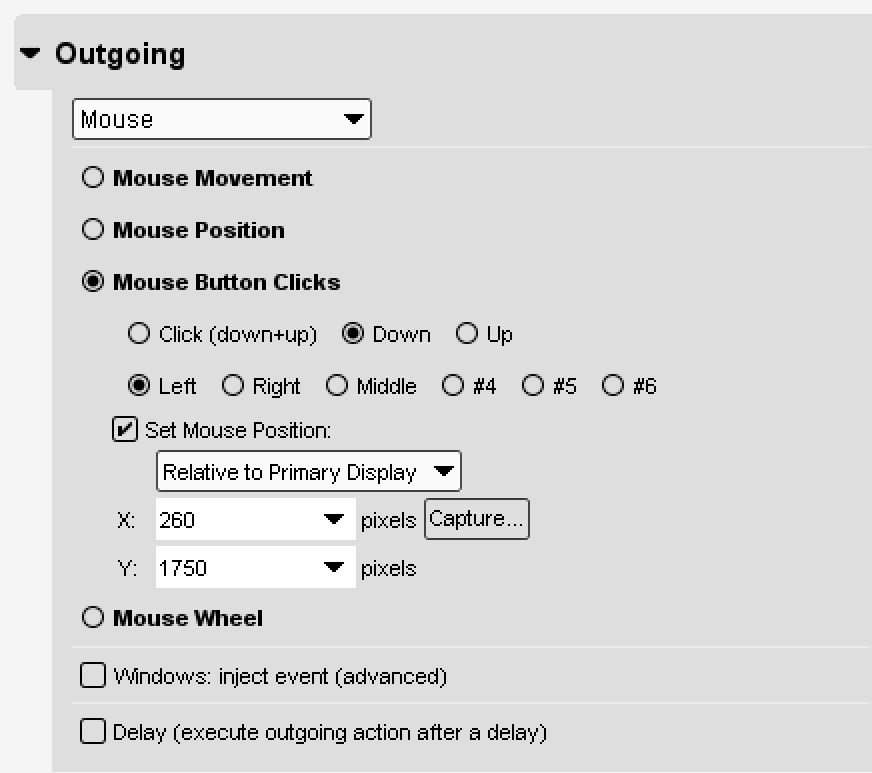
In the “Outgoing” section, we will select “Mouse Button Clicks” Down. Bome MTP makes it easy for us to set the position of the pointer within the same translator. We will select the fixed starting point of the cursor on the screen. You can use “Capture…” to make it easier.
Now for the fun part – the actual movement. We’ll add another translator, which you can name “movement 1”. In the “Incoming” section, keep the same CC number with any value, but this time make sure to tick the box “Set variable to value” and enter “pp”. This will take the value of the incoming CC and allow us to modify the data before sending it back in the output.
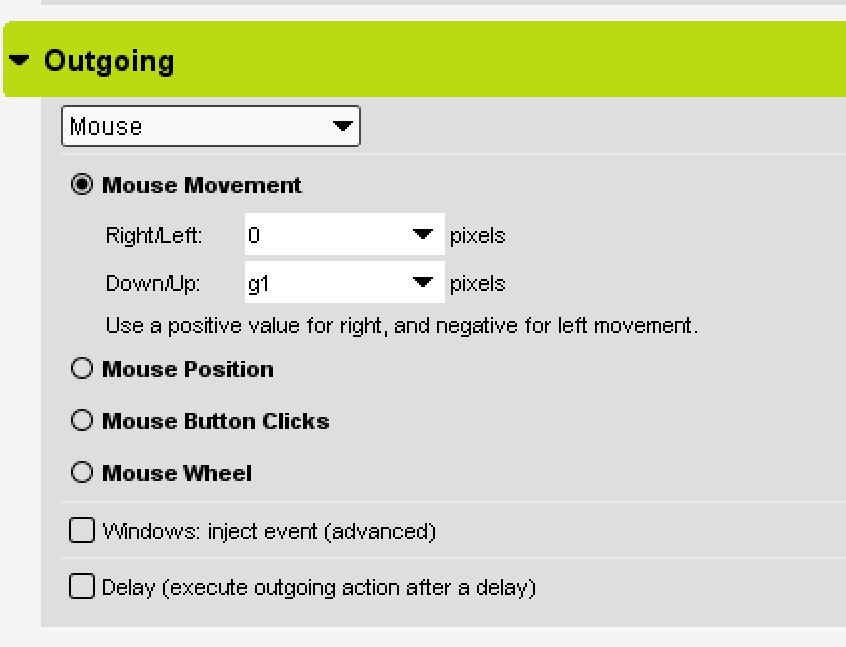
In the “Outgoing” section, we will enter “g1” as Mouse Movement Down/Up. The variable “g1” will be assigned in the rules.
In the “Rules” section, enter the following code:
if g2 < pp then g1 = -4
if g2 > pp then g1 = 8
g2 = pp
This set of rules makes it possible to detect whether the fader is moving up or down by defining the variable “g2” in the last rule. The first two rules take the input “pp” to determine if the previous value was lower or higher.
The values “8” and “-4” can be edited to correspond with the screen height of the parameter.
Lastly, we want to release the mouse click every time a new value is received from your controller. For this, we are creating a third translator, which we can call “release 1”. In the “Incoming” section, insert the same CC number as the two other translators, with “any value” ticked. In the “Outgoing” section, choose “Mouse Button Clicks” and tick “Up” to release the click.
And voilà, it should work. Feel free to download the pre-made script on this page if you’d like to make it even easier!

